Friday, November 24, 2017

Download OpenShell FIX for W204 207 212 in DAS standalone menu

Free download the FIX enables the access to diagnosis of vehicle types W204 (C, GLK Class), W207, W212 (E Class) via DAS standalone menu, without XENTRY. Very convenient.
https://mega.nz/#!hTQ0kZIR!SStg4wbHAa_QdGz3No5gmkJ_7uaZ47UPzM0F4RhxAOs
Password: xdos_das_reem_fix1117
32bit Windows only, not 64bit
Note: it’s free, but not tested by professionals!!!!!!! unknown security and perhaps high risk sometimes!!!
You can go to http://www.obd2tool.com/goods-5194-MB+SD+C4+With+Super+Engineering+Software+DTS+monaco+And+Vediamo+Plus+EVG7.html
to have the tested Xentry/DAS, used with relief
27-1

How to configure Xentry Connect C5 V09.2017

2017 Xentry Connect C5 user manual: how to configure/set up MB SD Connect C4/C5 to use for the first time
Please have your XENTRY Connect MAC addresses (Wi-fi and LAN) enabled for the workshop network byyour IT supervisor/IT service provider in advance. You can read off theMAC addresses (Wi-fi and LAN) from the stickers on the devices.
26-1
Your case already contains a printed empty network questionnaire.
Please have it filled out by your IT supervisor. Important! Do notcontinue the initial startup until the questionnaire has been filled outcompletely! This will help to avoid additional work.
26-2
The latest Mercedes diagnostic software 09.2017 disk came with your MB SD Connect C5.
You can start the network configuration now.
Completely charge and turn on the XENTRY Connect.
Starting the XENTRY Connect for the first time can take up to 10 minutes.
Configuration can be started whilst both devices are still charging.
Attention! Be sure to use the correct power supply units!
Start the XENTRY Control software using the desktop link on the laptop. ConfigAssist is already open; if not,call up ConfigAssist via the “Configuration” menu.
Note! If you work with static IP addresses, you must perform theconfiguration via the expert dialog and transfer the configuration tothe XENTRY Connect via a USB stick.
26-3
Please have the filled out network questionnaire on hand:
How would you like to configure the devices?
Select one of the 3 options.
Recommended selection: “New without existing configuration data”.
26-4
Please continue following the ConfigAssist dialogs and enter the required
data from the network questionnaire.
Next, switch on the XENTRY Connect. This has already finished installing.
26-5
In the final steps, the configuration is transferred from the laptop to the XENTRY Connect. You will be prompted to interconnectthe devices using the supplied black Ethernet connecting cable.
This cable connection is required only for configuration
If configuration is successful, a green tile with the number of the Benz diagnostic tool XENTRYConnect C5will be displayed. You can now use the devices: Remove theblack Ethernet connecting cable to work via WLAN and with an onlineconnection. Then click on the green tile in order to read out the datafor ordering the StartKey.
26-6
Done!

(Solved)SD connect interface is Saying “please put in batteries”

Problem:
Hello MB star
I just recieved My tablet and it looks and work Very good .
But The sd connect interface is Saying “please put in batteries”
What type of batteries is it ?
Solution:
This problem same to :
MB Star C4 mux display: Favor inserir baterias(Please insert batteries)
Here you go :
1.Please prepare the following tools:
25-1
①— SDconnect multiplexer which need to input the batteries。
②— 6 units Ni-MH Rechargeable batteries,Size:AA, Voltage:1.2V, Capacity:above 1700mA。
③— 1 unit 108M WIFI Card。
④— Plum screwdriver,Specification:T-20
2.Take out the rubber:
2.1 Use the T20 Plum screwdriver to take out the screws as below.
25-2
2.2 Take out the rubber as below.
25-3
①— Batteries Space.
②— WIFI Card Space.
③— SD Card Space.
3.Insert the Rechargeable batteries.
3.1 Use the T20 Plum screwdriver to take out the screws of Batteries Space fixation as below.
25-4
3.2 Take out the fixation of Batteries Space. Pay attention to the Battery polarity marked in the Batteries Space.
25-5
3.3 Insert the batteries. Note the Battery polarity.
25-6
3.4 Button on the Fixation of Batteries Space after inputting the Rechargeable batteries.
25-7
3.5 Use the T20 Plum screwdriver to fix the screws of Batteries Space fixation as below. Inserting the batteries is finished.
25-8
4.Installing WIFI Card.
4.1 Inserting the WIFI Card into the WIFI Card Space. Please make the correct direction.
25-9
4.2 Push it to make it totally connected.
25-10
4.3 Cover the rubber and fix the screws to finish all the work.
25-11
Note 1:
Go to the info section within DAS Xentry— search SDconnect and you will find what all the SDconnect symbols defined!!
25-12
Note 2:
pls check these picture, you can choose self-diagnosis your MB STAR ScannerSD connect c4
25-13 25-14

How to SD connect C4 LAN & WiFi Configuration

Topic: How to configure SD connect C4 LAN & WiFi to solve DAS fault (1.1)-1.501.9500.
Tool: a clone SD Connect C4
Software: 2011/3 Xentry
Status: I’ve started up SDNC to see if the connection is okay, and it turns green when I connect the multiplexer via LAN, but when I try the wifi it stays red. It can also read out some data from the multiplexer so I am assuming the the multiplexer is working fine too
Error: If I connect it to a car, DAS keeps popping up the (1.1)-1.501.9500 error (as I understand that must be some kind of communication problem). The car’s wiring is fine as KTS 520 can communicate with it.
Photos:
See the ceaser test post results
24-1
see the error message DAS gives
24-2
SDConnect toolkit says that my mux is available, but when I click on the button in the middle I get an error message, with an error code 750. That button is supposed to be for searching for multiplexers. This kind of gives me the impression that something isn’t quite working right :S
In the toolkit admin, it displays a serial number, says the mux is available. See in the attachments.
24-3 24-4 24-5 24-6 24-7
Solution:
It’s working!!! (At least it’s working via LAN, have not tried WLAN yet.)
I can’t believe it :O
Changed value in cal.ini to PART_W (to be exact, didn’t need to change it, it was PART_W, just left it that way :P).
As for the rest of the instructions, I haven’t been able to follow them exactly. I also got a vid with instructions and it’s a little bit different (I’ll post it here if anyone needs though). For example the LAN IP address is 172.29.127.112, but it seems to be working that way. Also I haven’t been able to configure the “road WLAN”, because it doesn’t matter what I enter into the “key” field, it keeps saying that the key cannot be divided by 2 and therefore it is not hexadecimal
Hope this isn’t going to hinder my chances of using WLAN…
But I’m going to find out in a few anyway.
EDIT: Also tried with LAN IP: 172.29.127.119, it doesn’t make a difference. MB SD Connect Compact 4 works with both IP-s.
Damn….I clicked on the “Delivery condition” button in the SDconnect toolkit, and now I cannot turn on the WLAN on SDconnect. I think it wrote something into the MUX’s software :S
The LAN connection still works though, so the MUX is not blocked yet luckily….
Look here: Mercedes Star Diagnostic SD Connect Compact 4 LAN & WIFI configuration
SD connect C4 LAN configuration
24-8 24-9 24-10 24-11 24-12
24-13 24-14
SD connect C4 WIFI configuration
24-15 24-16 24-17 24-18 24-19 24-20 24-21 24-22

Xentry Connect C5 Fake vs. Real

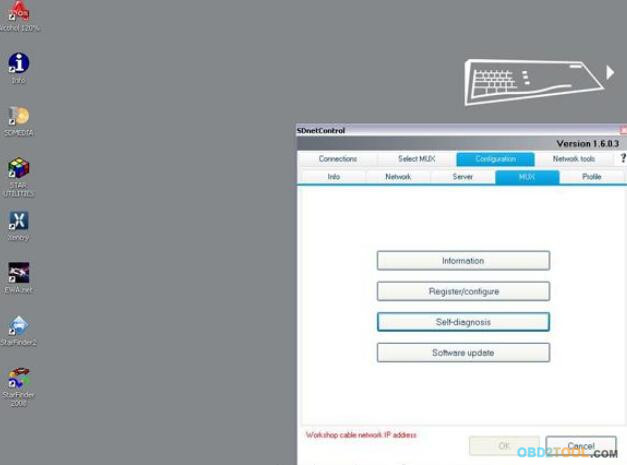
First , see the fakemb Mercedes C5: nothing update
23-1
Fake mb star c5 is another SDconnect c4 with a different look only
fake C5 adopts the same design in appearance as the genuine from French ACTIA Company
same sw, some PCB, same result
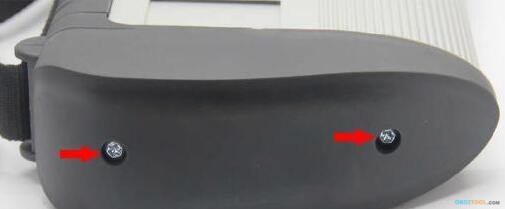
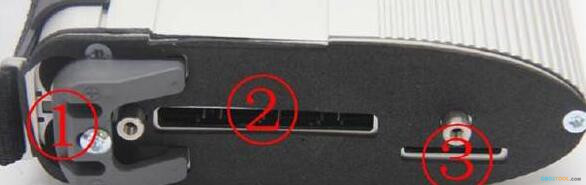
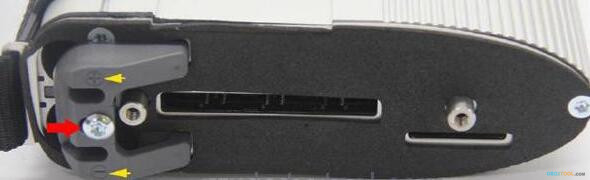
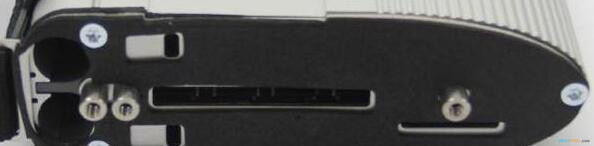
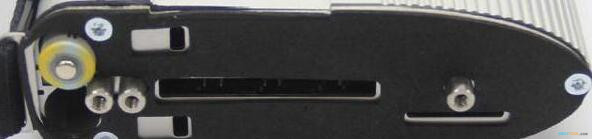
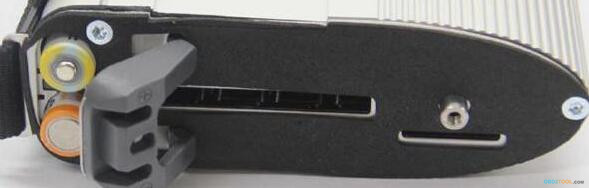
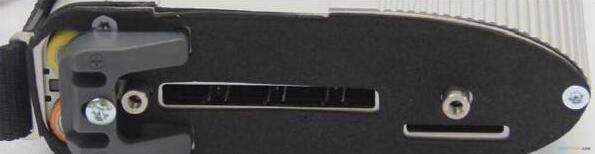
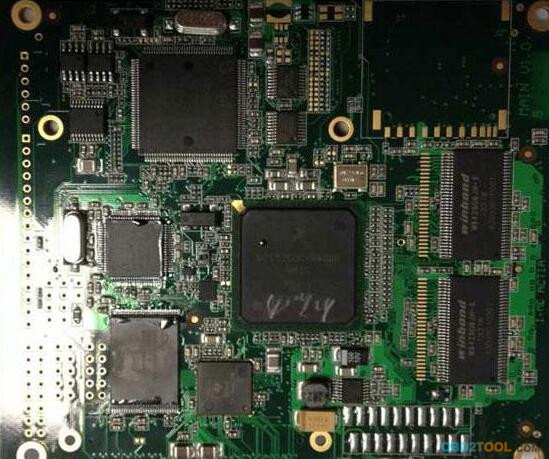
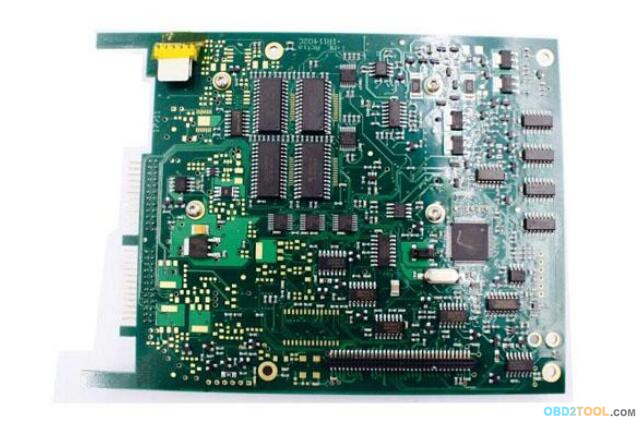
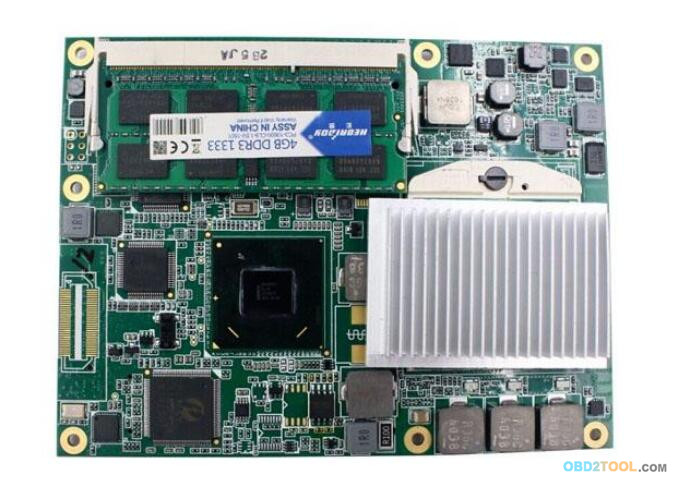
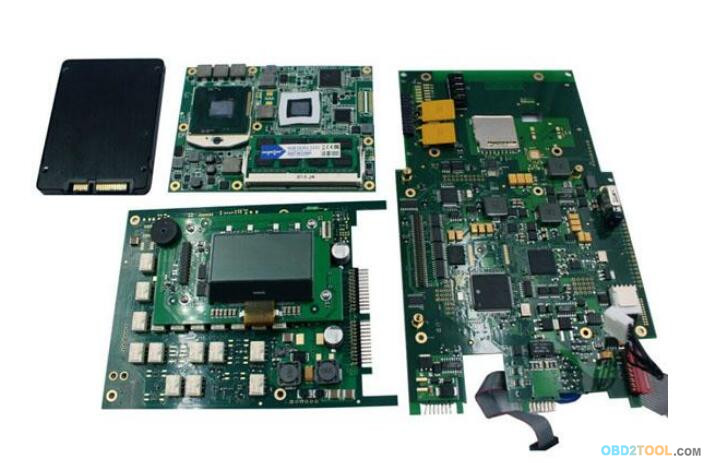
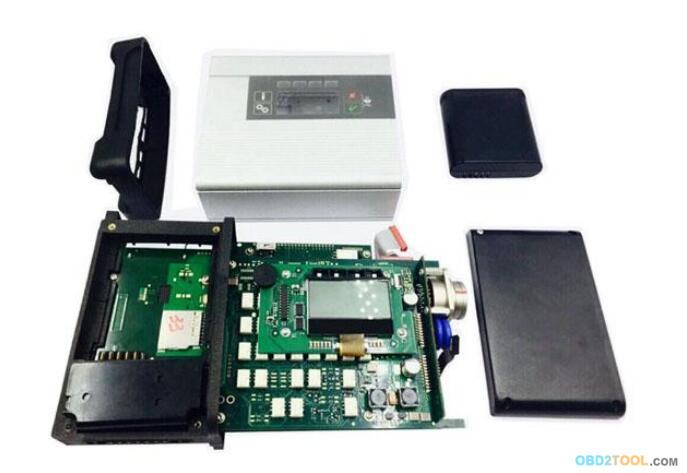
See the fake board from c5 mux, completely same as Mercedes BENZ C5
23-2 23-3 23-4 23-5
To buy a fake c5 is to have a c4 in hand.
But now, you have luck with a real mercedes star diagnostic c5.
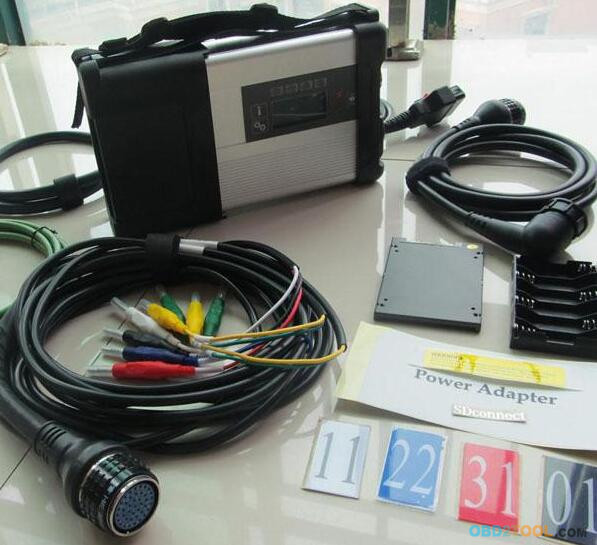
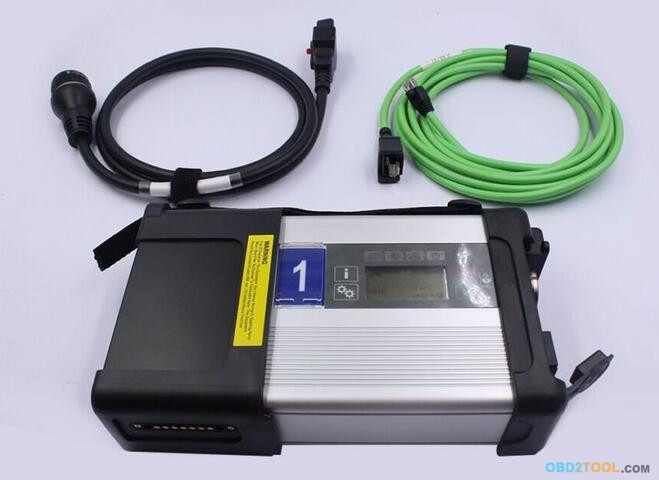
Genuine Xentry Connect C5
23-6
1:1 clone of the original
23-7
This 1:1 clone of the original is the newest star diagnosis system in the year 2017.
Same as the one produced by French ACTIA Company, can test Engine /Transmission / air conditioning /SRS.ABS/ anti-theft system and OBD-II system.
New & Update:
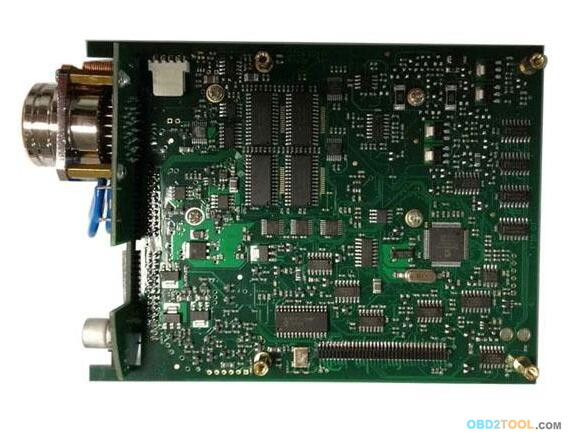
1 This C5 is the real version with HQ PCB like the original, not the cheap onemade by SD connect PCB.
2 support the newest hybrid W222.
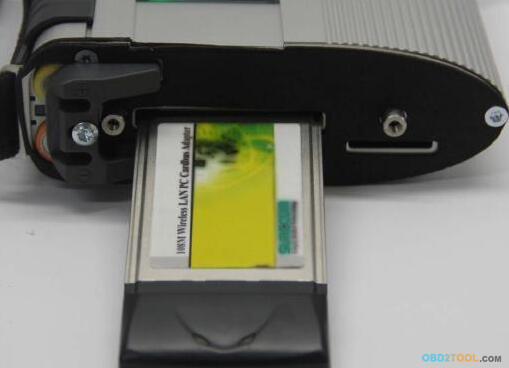
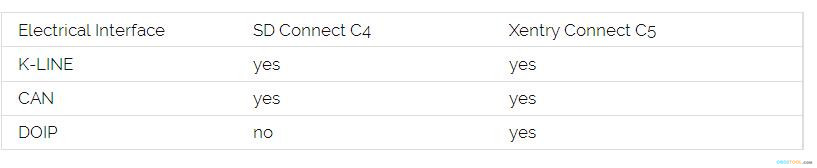
3 has an Ethernet switch, which switches the TCP/IP messages in the event of DoIP diagnosis to the vehicle side.
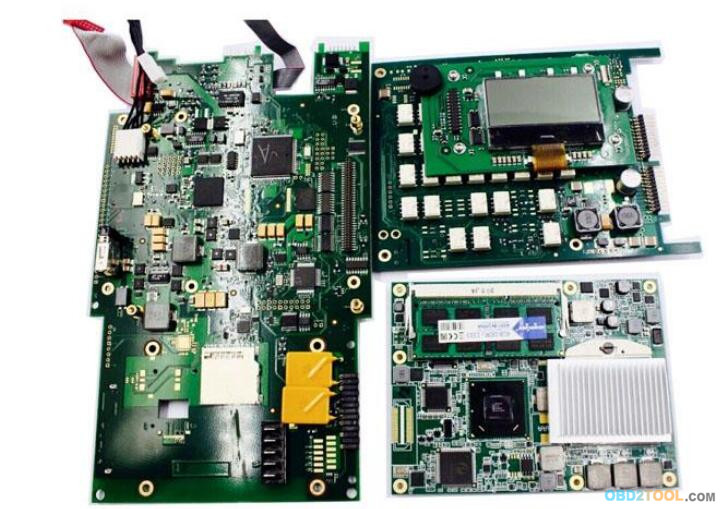
23-8
New PCB talks..
23-9 23-10 23-11 23-12 23-13
What the difference between C5 and other Mercedes star diagnostic?
Hardware: The hardware of C5 is better and stable than MB Star C4; it has a qualitative improvement in hardware and software by authorization of diagnostic interface to control the software.
1.OS: Windows Embedded Standard 7(32bit)
2.Processor: ArrandaieCeleron P4500 oder P4505(38W TDP)
3.Memory: 4G hard disk with 256GB SSD
4.Display: 128*64 PX
5.Battery: 40 minutes (When CPU capacity to 60%)
6.Weight: 1.9KG
7.Network connection: WLAN : IEEE802.11 a/b/g/n2.4+5GHZ
The way to connect: support wireless connection via 1000M workshop switches, also support wired connection.
Software: All diagnostic software is loaded into the Xentry Connect multiplexer itself.
The management software can be installed on any computer with Windows 7 – 32-bit or Windows 8 – 32-bit and serves only for communication with the multiplexer
The licensing system is reworked – now licenses are stored on MB servers – Any license changes are tracked by the multiplexer when connected to the Internet network.
Why you should buy Xentry connect?
After 2015, all Star Diagnosis equipment is no longer supported. First of all, this means that there is no update of the diagnostic data for the newest cars and their systems, as well as the lack of the possibility of coding and programming of electronic units due to the backlog of the software data level in the device, from data in the electronic control units of the car.
Already at the end of 2014, at most dealerships, almost all of the previously used Star Diagnosis Compact4 with SDConnect DoIP multiplexers were almost completely removed. Instead, dealers received Xentry Kit kits, which include the latest Xentry Connect multiplexers and Xentry Tab tablets from Panasonic. Tablets are custom-made, although they also have a “civilian” version – the Panasonic Toughbook CF-D1, somewhat inferior in terms of battery life to the original Xentry Tab, but it has a much more powerful configuration.
Honestly, the need to use the Xentry Tab on non-dealer services seems somewhat exaggerated to me. With dealers everything is clear – they were forced to use this equipment.
What about original Xentry connect c5 price?
Undoubtedly, the original c5 with Panasonic tablet from the ACTIA Company is excellent … But … Its price is disheartening. The cost of the Japanese tablet is realistic to buy pieces of eight new laptops or tablets from other manufacturers.
So , recommend buying an original Xentry connect and 1:1 clone: http://www.obd2tool.com/goods-5186-MB+Star+C5+With+Vediamo+V050006+Engineering+Software+Plus+EVG7+Tablet+PC.html (it’s 12000 usd, the same result as the original), then buy a laptop yourself . the software from which Xentry Connect is managed can be installed without any problems on any computer that has a 32-bit version of Windows 7, Windows 8 or Windows 10. It’s clear with Xentry Connect itself – there’s no alternative .
After all, in this choice there are many reasons that encourage one to make a decision. The main thing is one: since 2015, the MB Star software diagnostic multiplexer Xentry Connect C5 becomes the only one used at dealerships.
Thus, with this equipment, you do not lag behind the progress. You use in your work the best that is available today. Each your client, seeing with his own eyes that you in your work use the same device that he saw at the dealer’s service station, will understand that he made the right decision entrusting his car to your specialists.
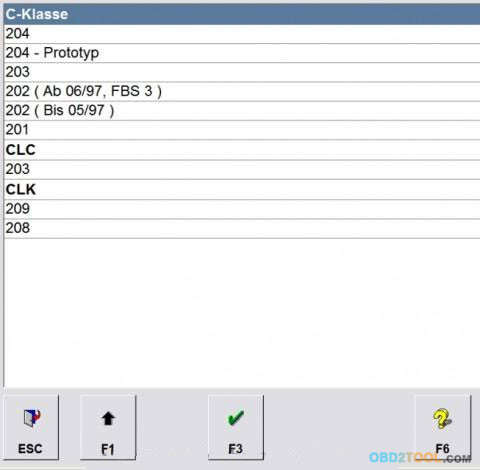
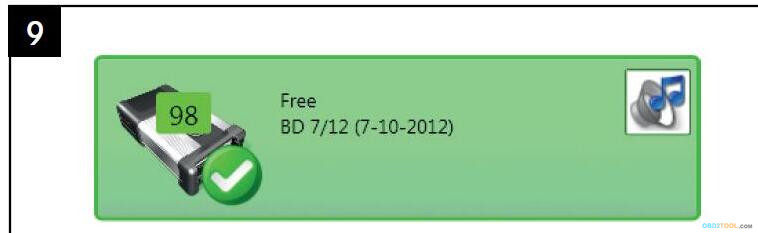
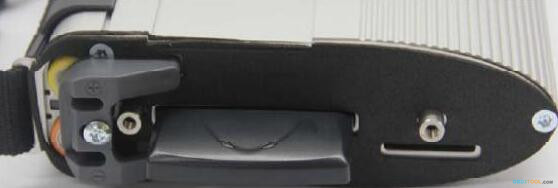
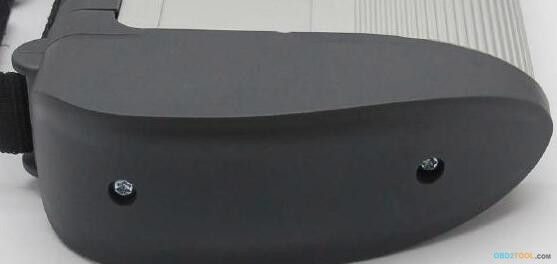
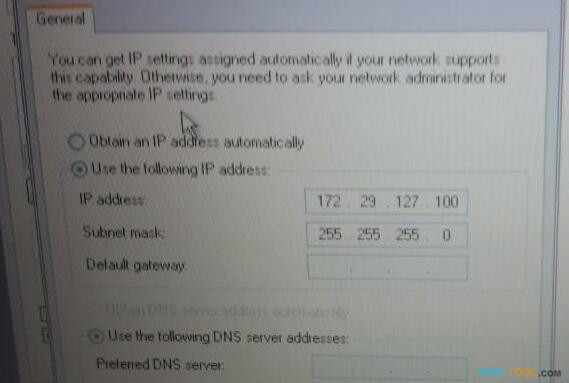
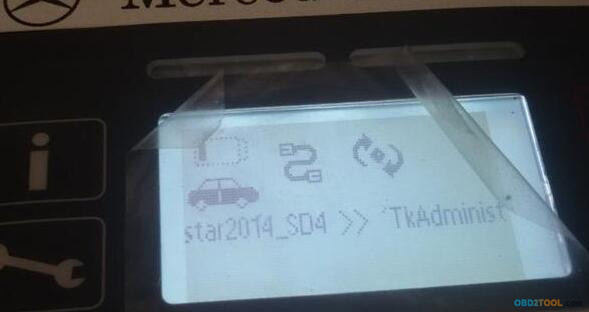
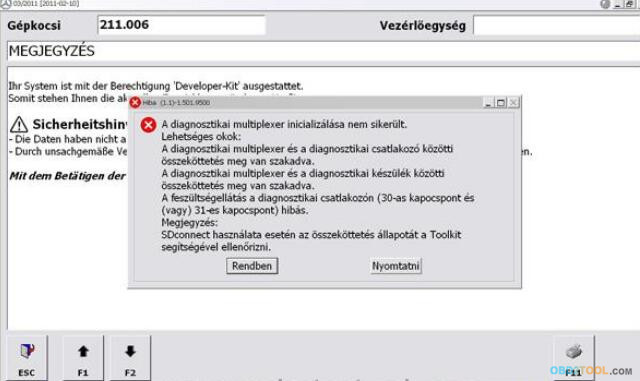
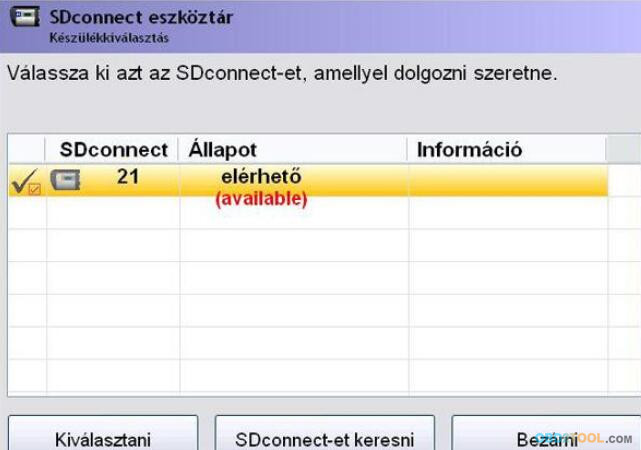
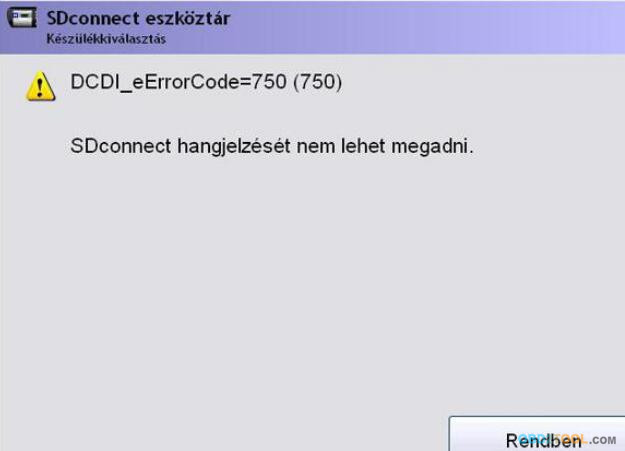
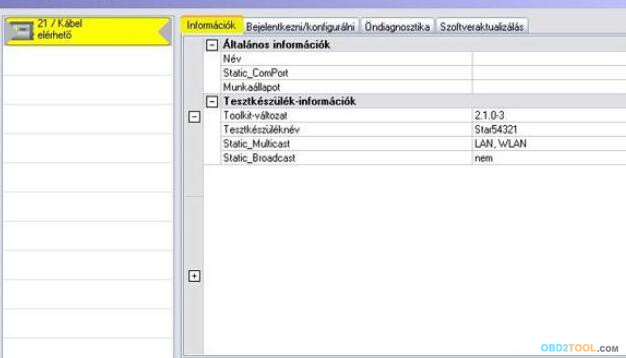
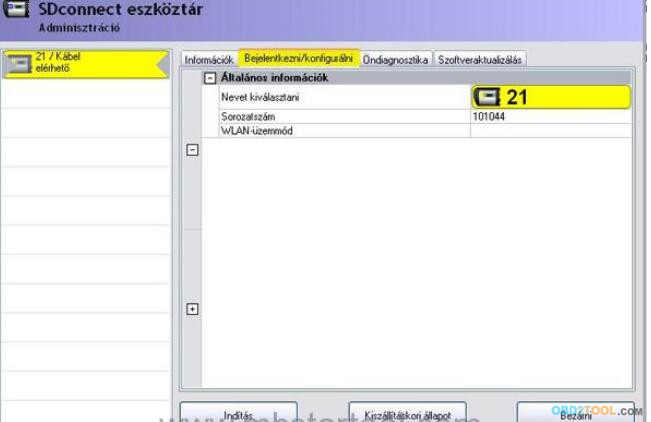
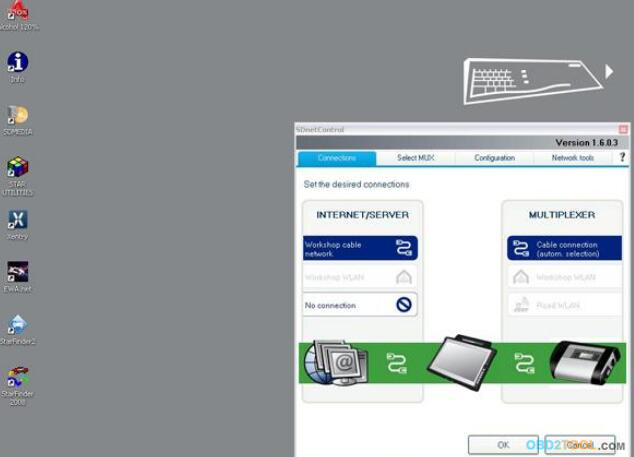
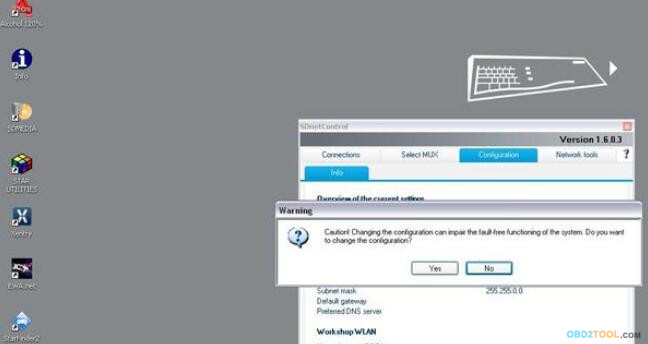
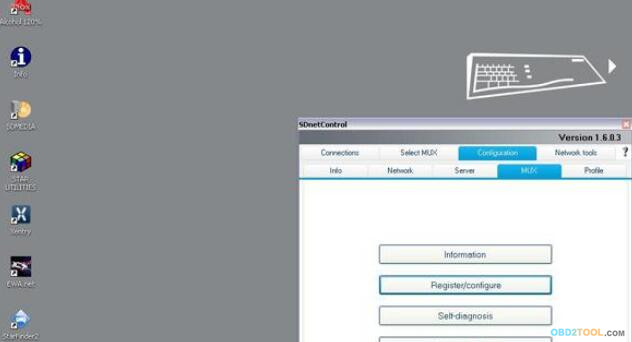
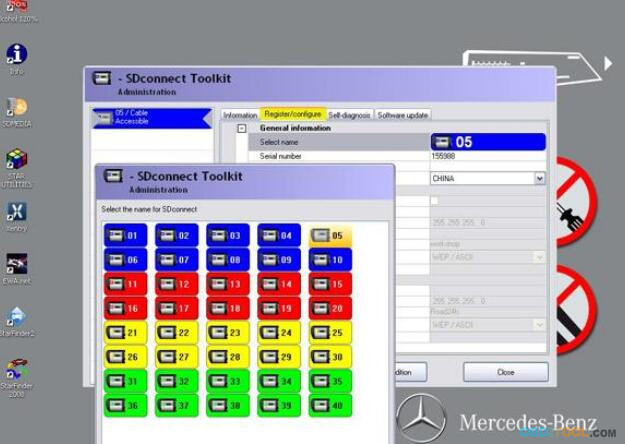
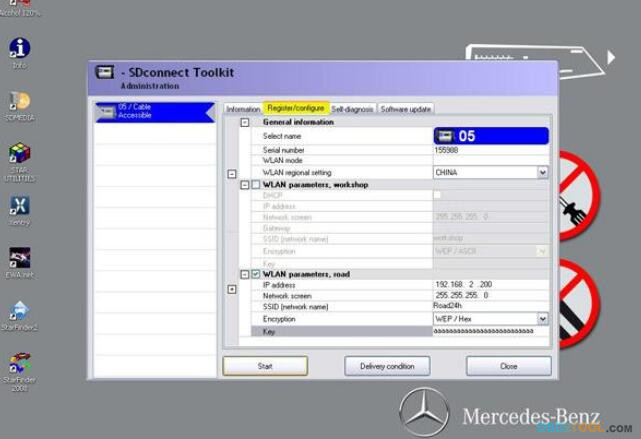
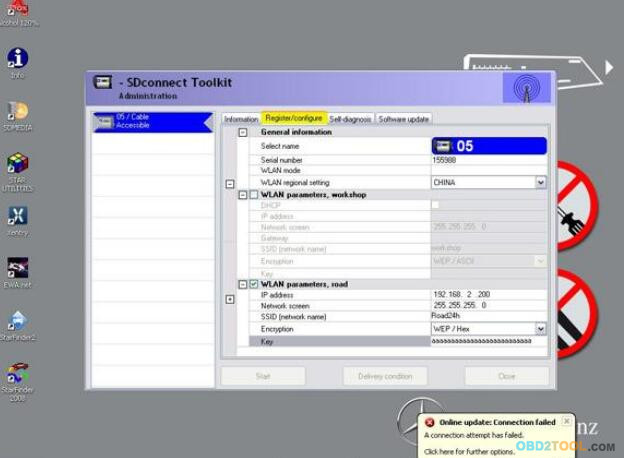
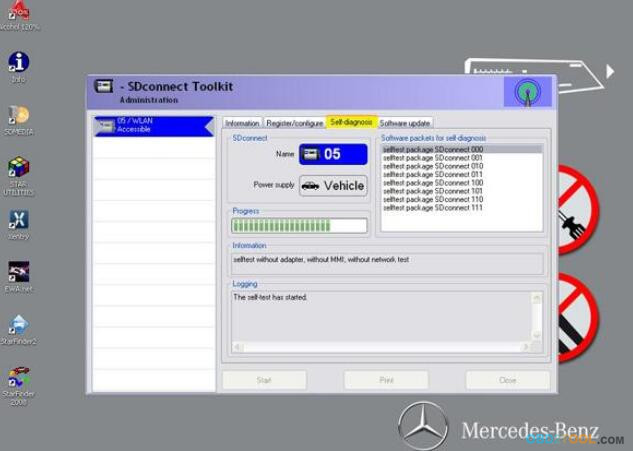
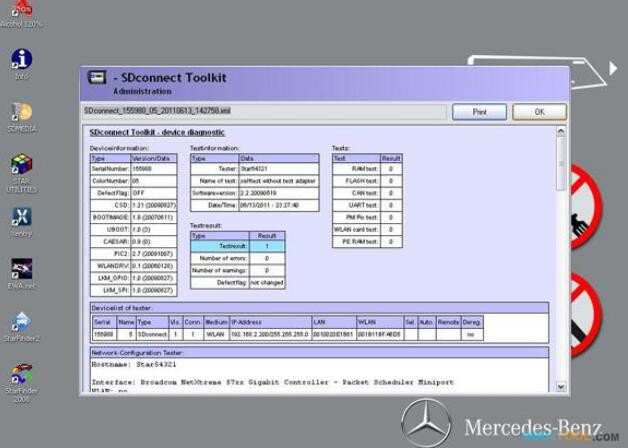
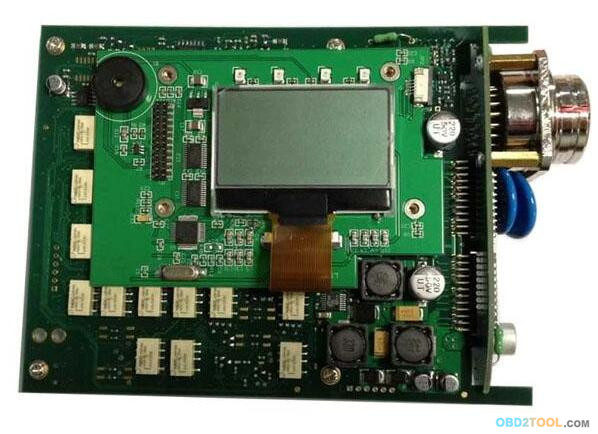
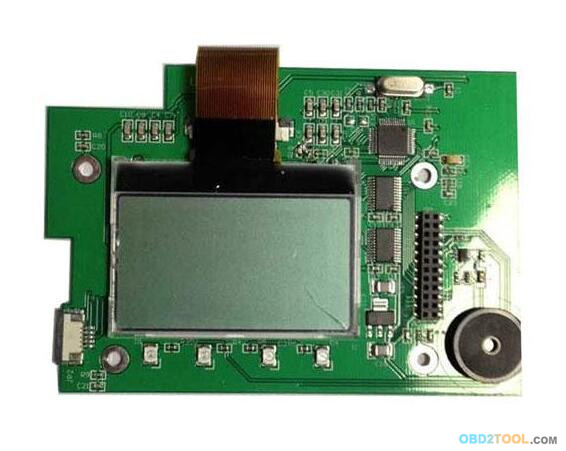
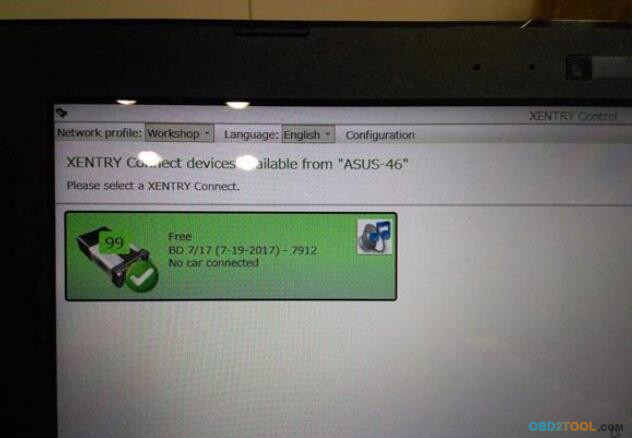
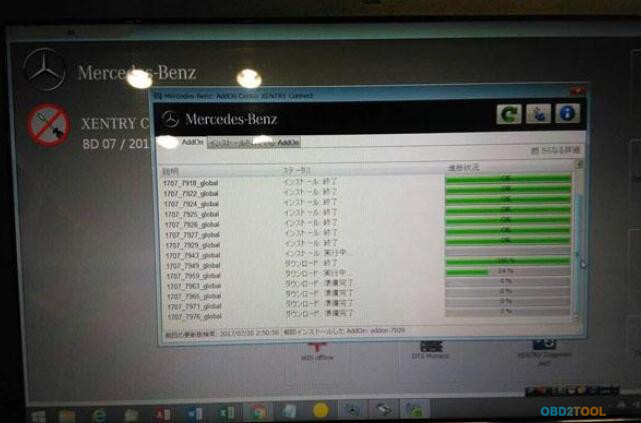
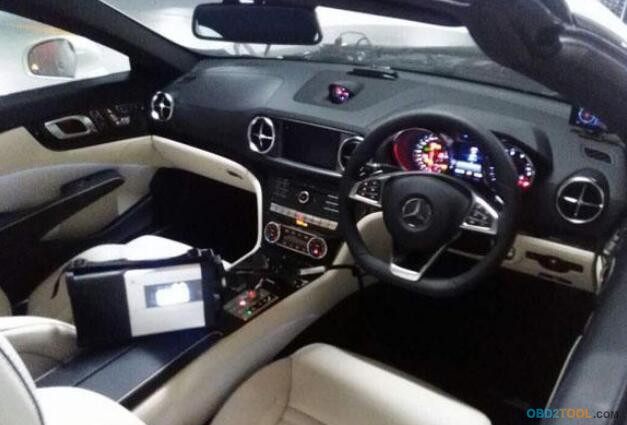
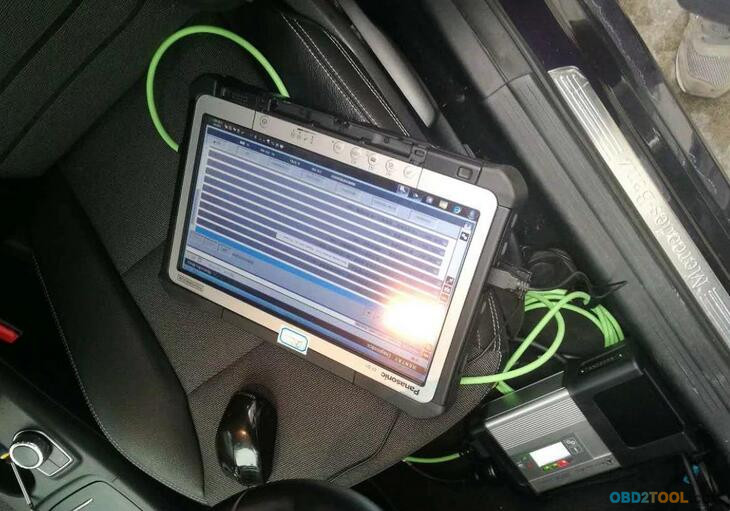
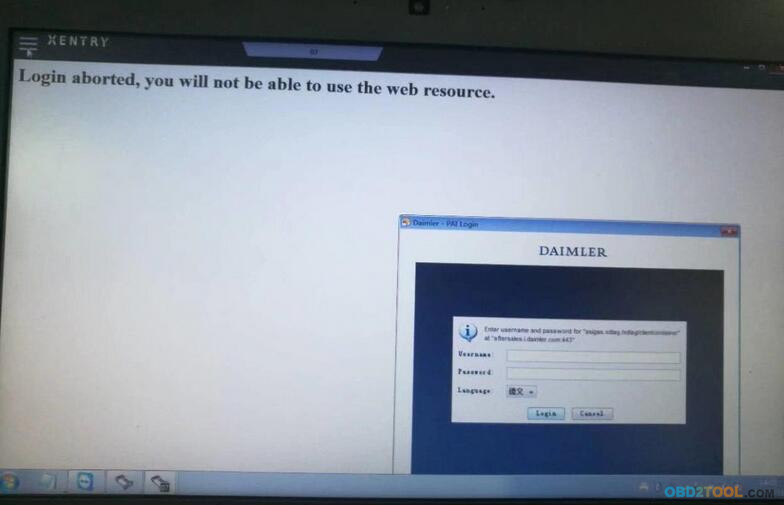
Xentry connect HQ clone works good?
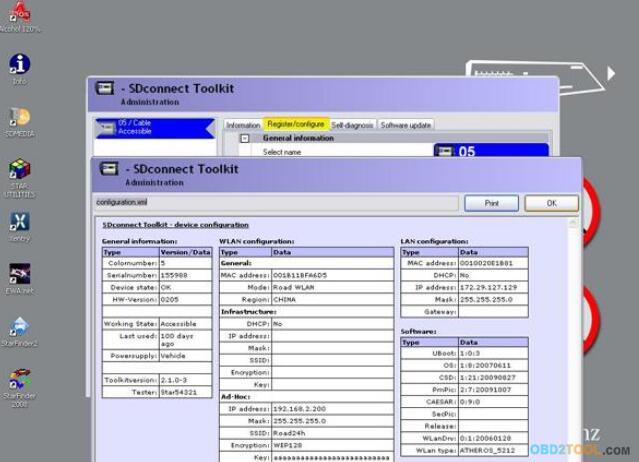
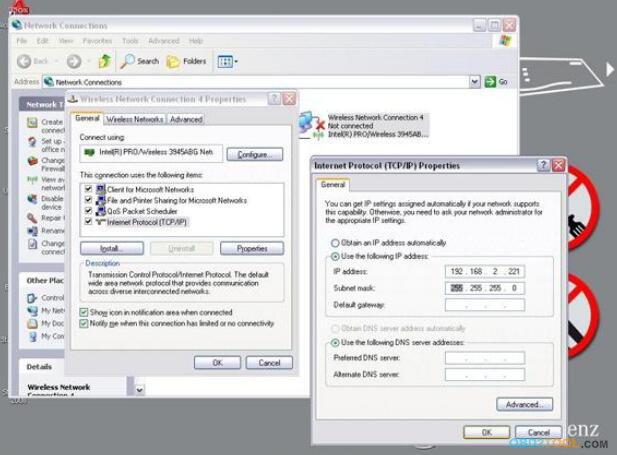
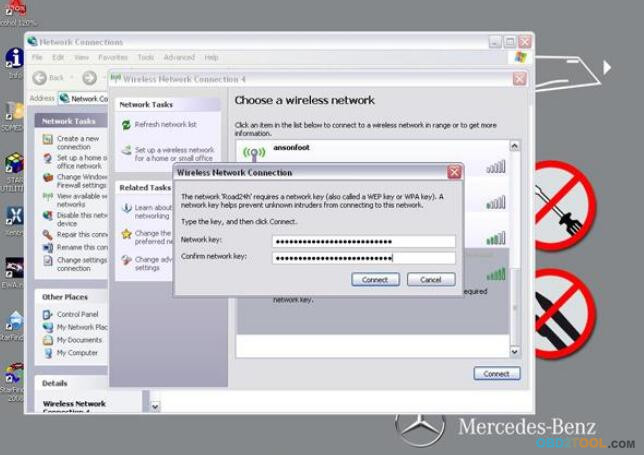
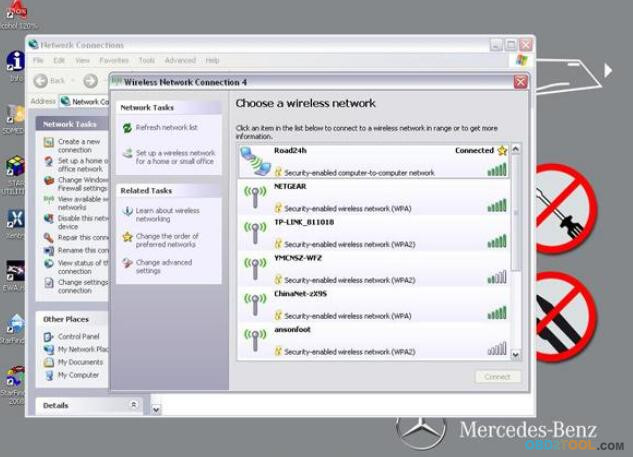
Yes, attach the test photos
23-14 23-15 23-16 23-17 23-18