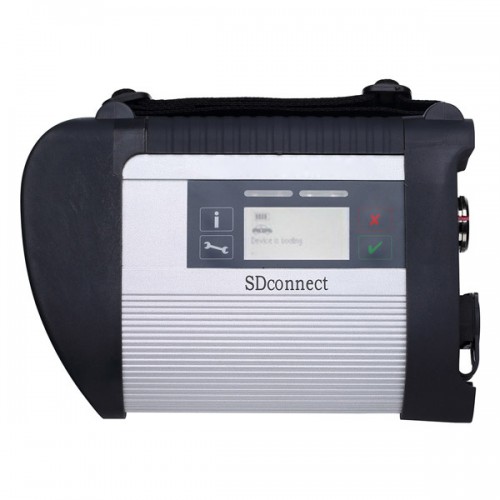
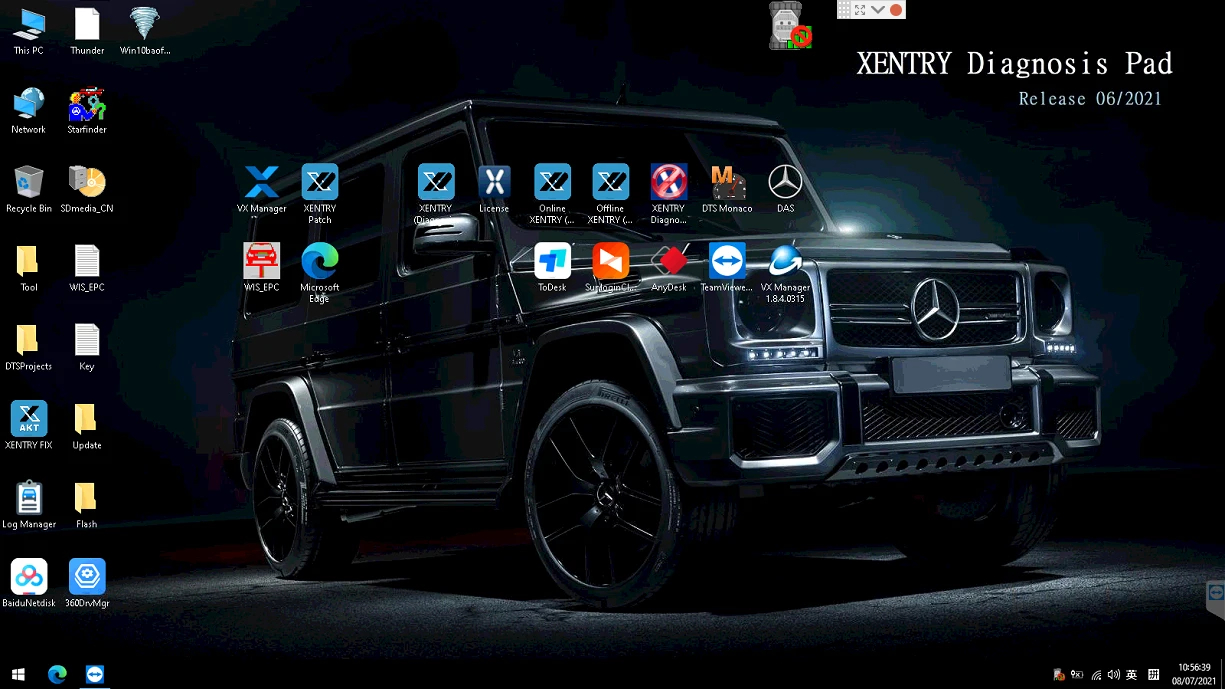
Benz C6 is the new OEM xentry diagnostic vci multiplexer which can support DoIP while sd connect c4 can not. BENZ C6 xentry diagnostic vci comes with latest xentry software 2021.06v. Star c6 benz diagnostic tool can support both cars and trucks via obd.
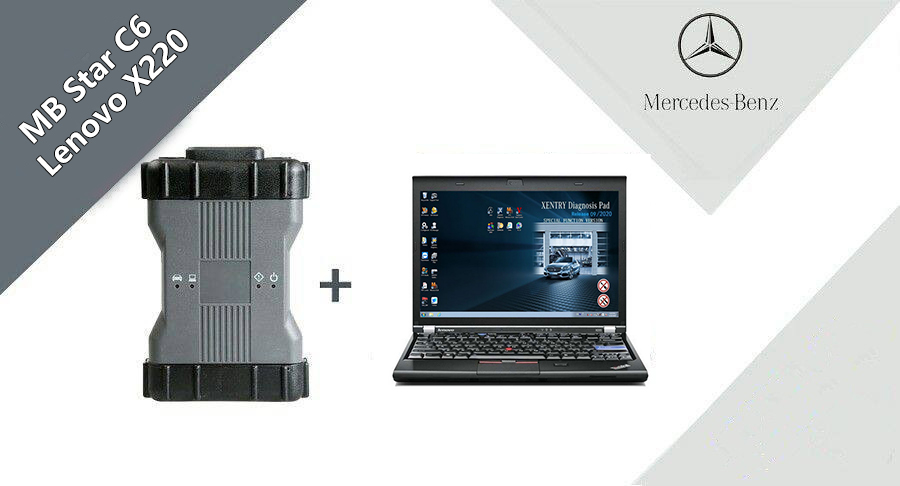
BENZ c6 XENTRY Diagnosis VCI acts as a Pass-through Interface, also called MB Star C6, For Benz C6 multiplexer to provide complete communication between a vehicle and the XENTRY software loaded on a PC. So you also can get the mb star c6 with laptop and software installed set from us, which will be ready to use, no activation needed.
MB Star C6 Software Description:
1.DAS / Xentry 2021.06
2.WIS net 2019.07
3.EPC net 2018.12: Electronic Parts Catalog
4.ST Finder 2016: optional: a Part location finder
5.SDmedia 2015.01
6.DTS 8.14.016 Monaco
7.VX Manager 1.4.2
8.Vediamo Database (This C6 hardware not support Vediamo)
Support DoIP
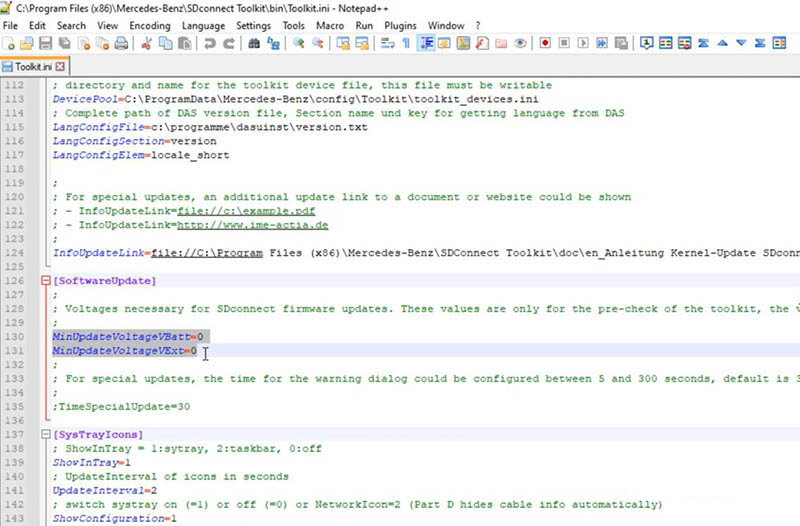
WiFi Password for BENZ C6 : 12345678
1year warranty with lifetime tech support
Support Vehicle: Mercede For Benz & Smart vehicles
Plus V2021.03 MB Star Software 500GB HDD
Functions: Star Diagnostic & programming (SCN Coding)
Notice :
Please install the 500GB HDD on laptop above 4GB Memory and I5 CPU, and
use it on one laptop only. If change laptop, software may get broken and
need to ship HDD back to us to copy software again.
ThisMercedes Benz Xentry diagnosis VCI DOIP Pass thur interface C6 can/’t support All Key Lost,needs one key at least.
What is DOIP
DOIP is ISO 13400 diagnostic protocol
ISO 13400-1:2011 describes the general use cases and communication
scenarios which are covered by an Internet Protocol-based vehicle
communication standard. Each use case drives specific communication
capabilities of the vehicle communication interface, for instance in
order to be interoperable in an existing computer network.
The diagnostic communication over Internet Protocol (DoIP) protocol
supports the standardized service primitive interface as specified in
ISO 14229-2.
The descriptions in ISO 13400-1:2011 cover different application layer implementations, such as:
enhanced vehicle diagnostics (system diagnostics beyond legislated functionality, non-emissions-related system diagnostics);
WWH-OBD (World-Wide Harmonized On-Board Diagnostics) as specified in ISO 27145-2 and ISO 27145-3.
The mercedes Land Rover JLR all use this new Diagnostic Protocol now.
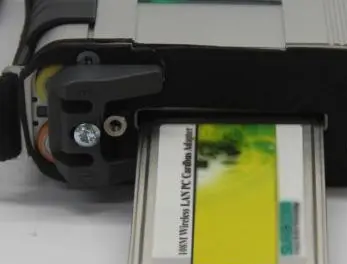
Where need DOIP device
when we test mercedes new car like w222 w205
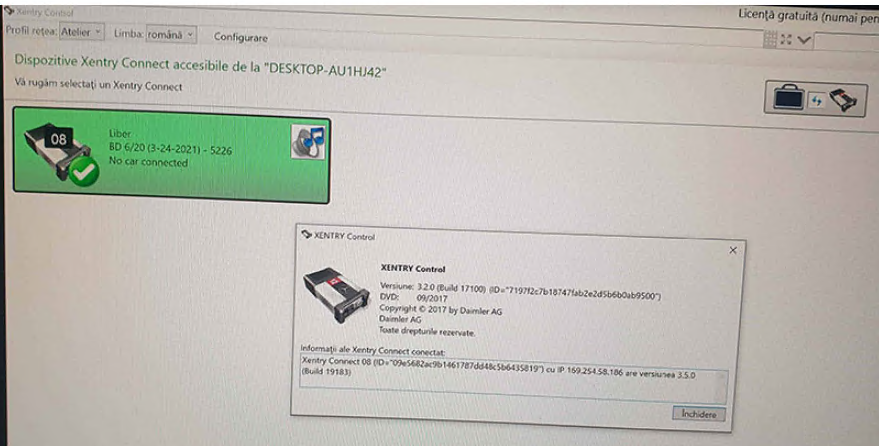
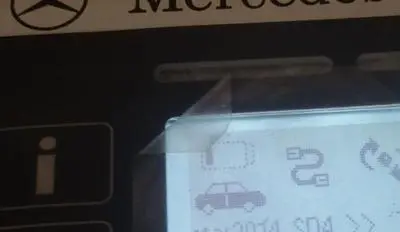
In Audio\Comand section you can find DoIP test page.
If cable is DoIP you will see green mark that DEVICE is Ok.
Xentry will prompt you that other device must carry yellow marks.
Mercedes Benz VCI DoIP C6 Support Functions List:
1.Diagnosing
2.Programming
3.Smulation studying
4.Repair information
5.Automotive maintenance
6.Technical service bulletin
7.DPF Regeneration (work same as original)
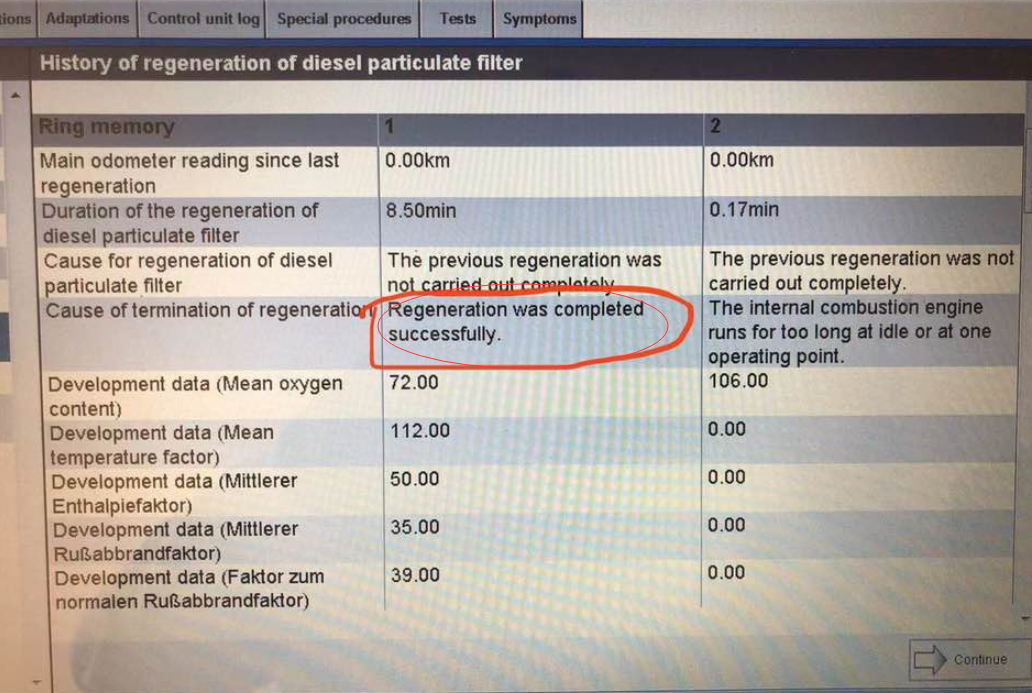
DPF Regeneration menu lets you perform the DPF cleaning to clear the blockage through continuous burning of the particulates captured in the DPF filter. Which will avoid the filter being blocked by ash, then the owner has to replace the new diesel particulate filter (worth 1000usd -200usd)
Mercedes Benz Xentry diagnosis VCI DOIP Pass thur interface C6 Features:
Can be used for all model series of For Mercedes For Benz vehicles
Support DoIP, cover more functions during SCN Coding than SD C4/C5
Functions including diagnosing, programming, simulation studying, repair
information, automotive maintenance, technical service bulletin and so
on
Diagnosis updates no longer necessary – firmware updates required on rare occasions
Does not need a power supply unit for external power supply
Dandy multiplexer with a small, sturdy construction (no PC core, battery, fan, or display)
Engines (All Gasoline & Diesel Systems)
Transmissions and Electronic Selector Modules
Airmatic and Active Body Control Suspension Systems
Traction Systems: ESP / ASR / ETS / ABS / BAS / SBC braking systems
Supplementary Restraint Systems (SRS) / Airbag, All body modules OCP / UCP / LCP / SCM / SKF / KFB / RCM / DCM’s
Drive Authorisation System
Sam (Signal Acquisition) Modules
Electronic Ignition System (EIS)
Pneumatic System Equipment and ATA functions
Air Conditioning / climate control Systems
Instrument Cluster
Tyre Pressure Control
Parktronic System
Keyless Go
D2b Command & Audio Gateway (D2B and MOST networks)
TV Tuner
Headlamp Range Adjustment
Seat Electronics
Rvc, RST & Vario Roof modules
Automatic Clutch System ACS
M-Class Body Modules (AAM / EAM / DAS / SEM / VG Transfer Case)
Assyst & ASSYST + systems
Second Hand Laptop Lenovo X220 Specification:
Brand: Lenovo
Condition: Used
Type: Laptop/Notebook
Screen Size: 14.0
Processor Type: Intel (R) Core(TM) I5-2520M CPU
Processor Speed: 2.50 GHz
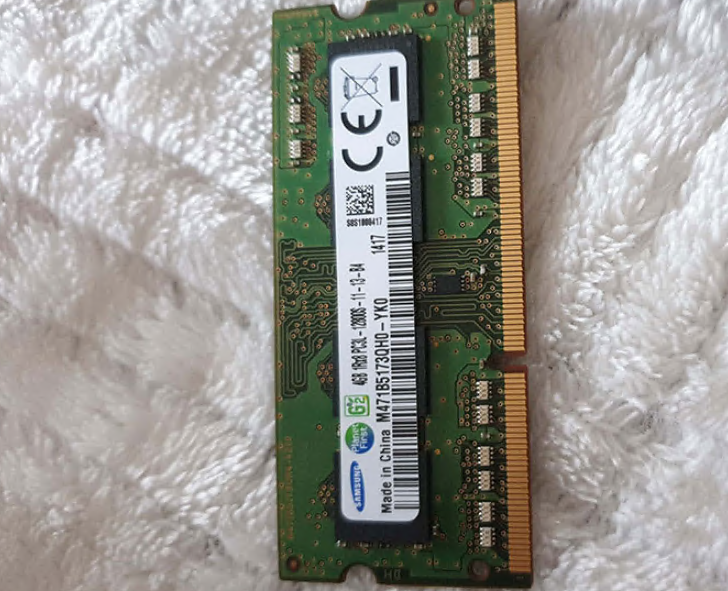
Memory: 4GB
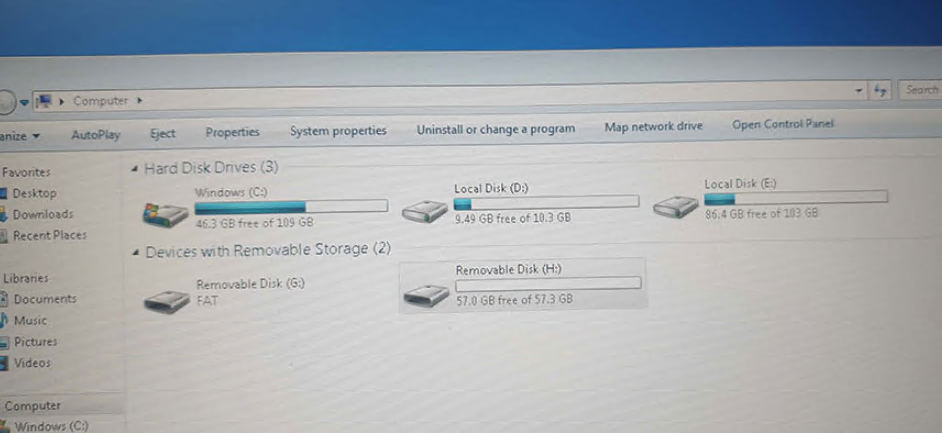
Hard Disk:500G HDD

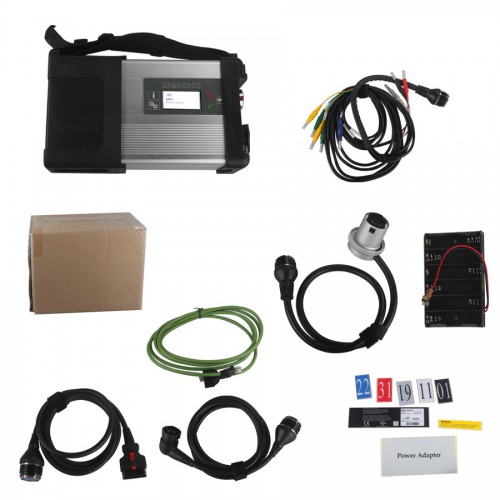
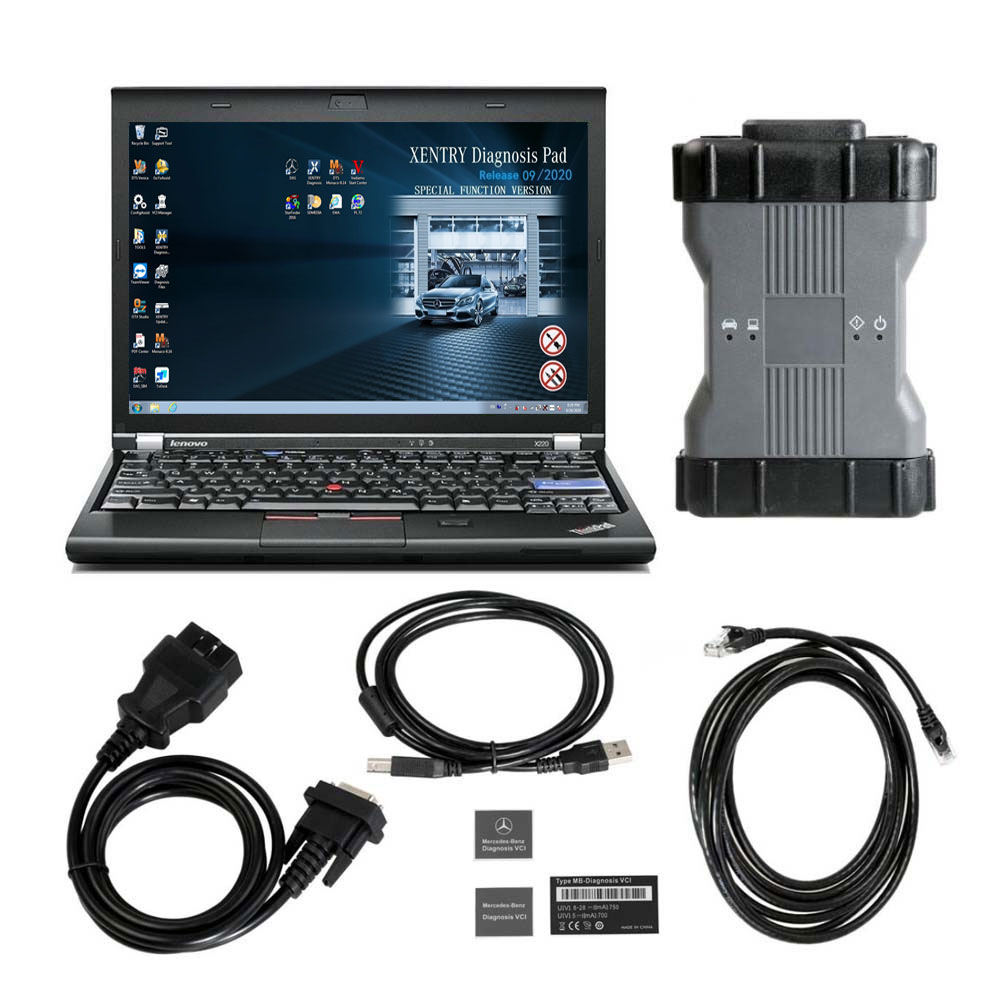
Package list:
1pc x MB STAR C6 Multiplexer
1pc x OBDII Cable
1pc x Lan Cable
1pc x Second Hand Laptop Lenovo X220 Laptop (All software activated. All system ready to use)
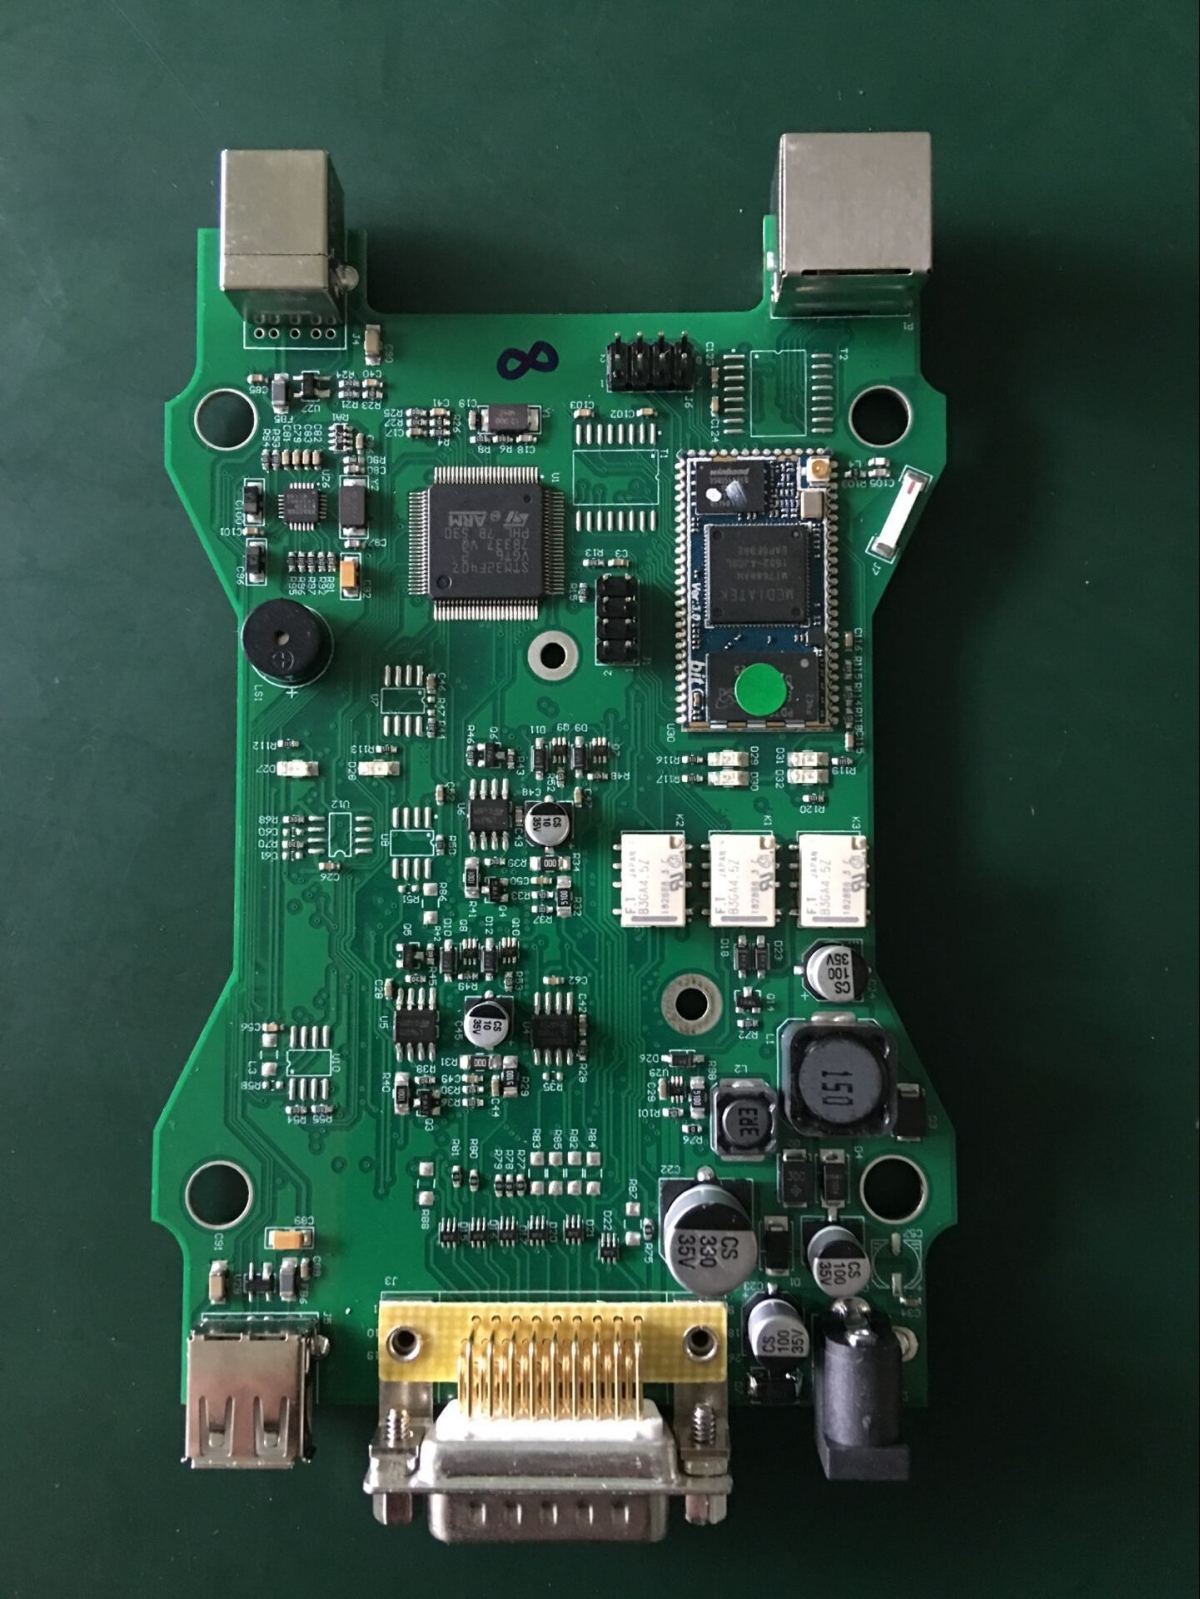
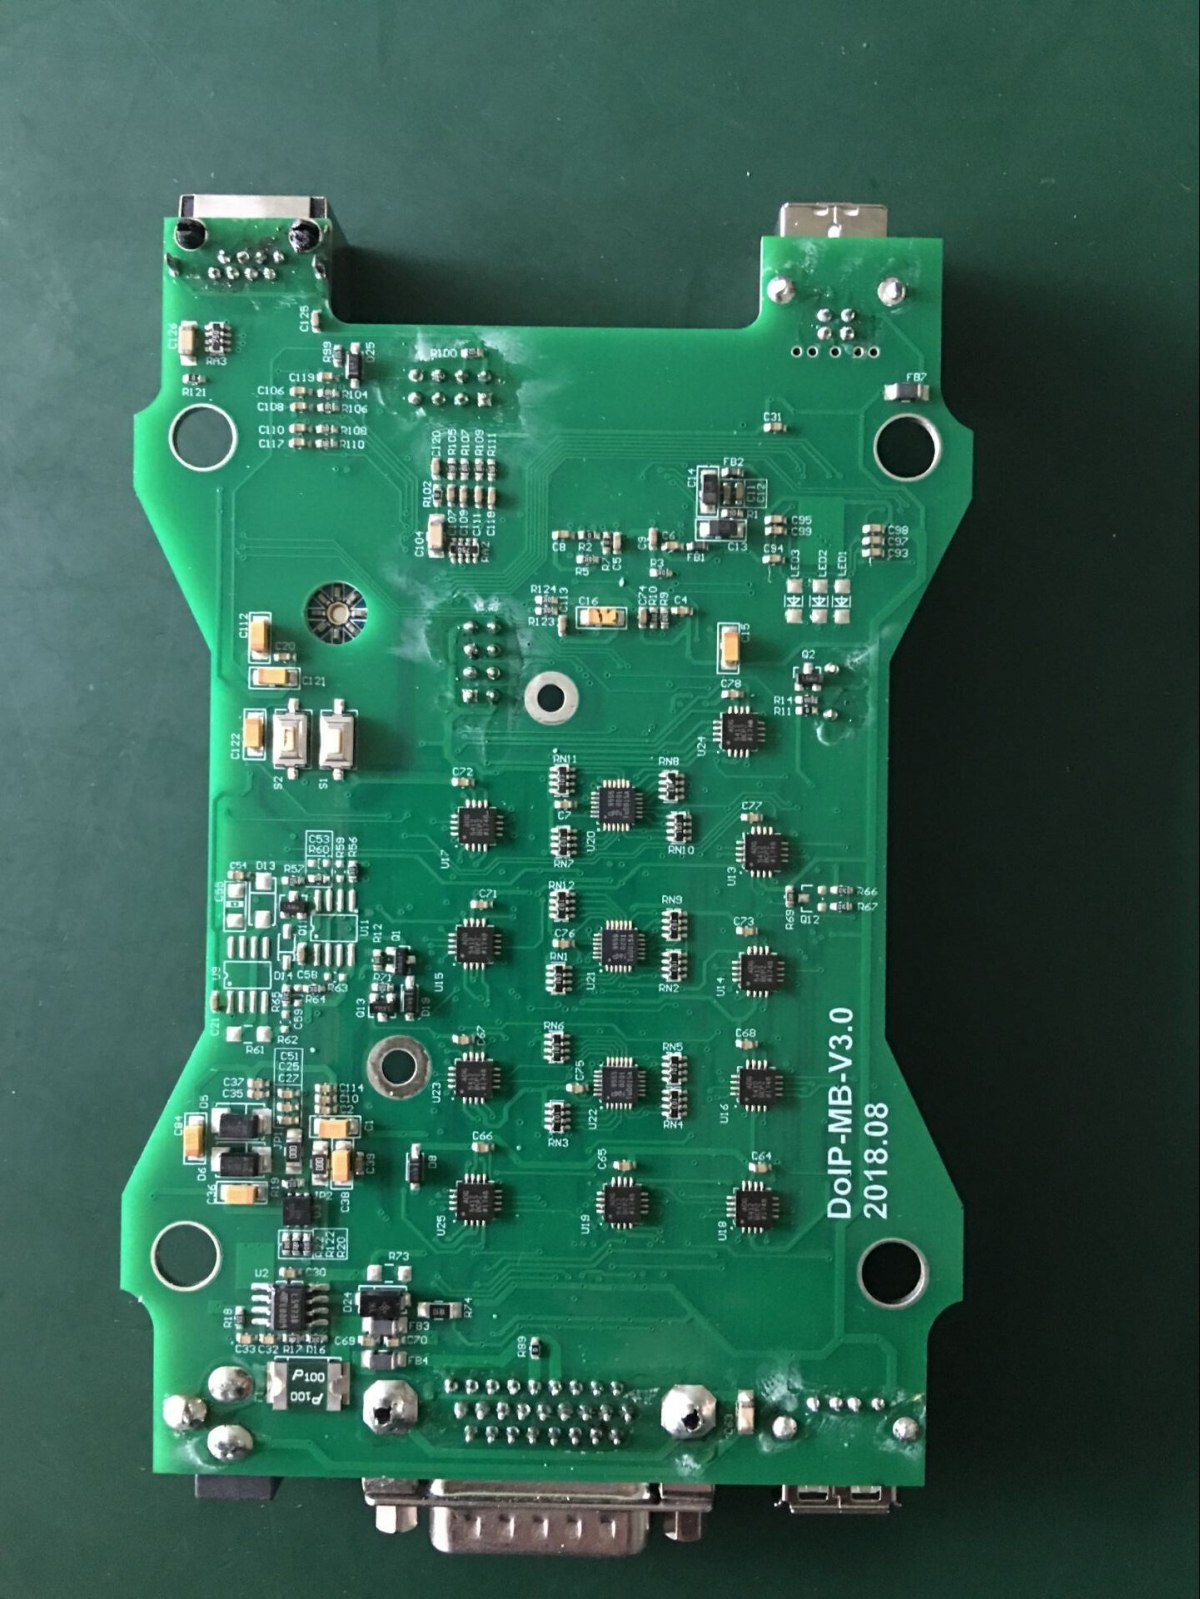
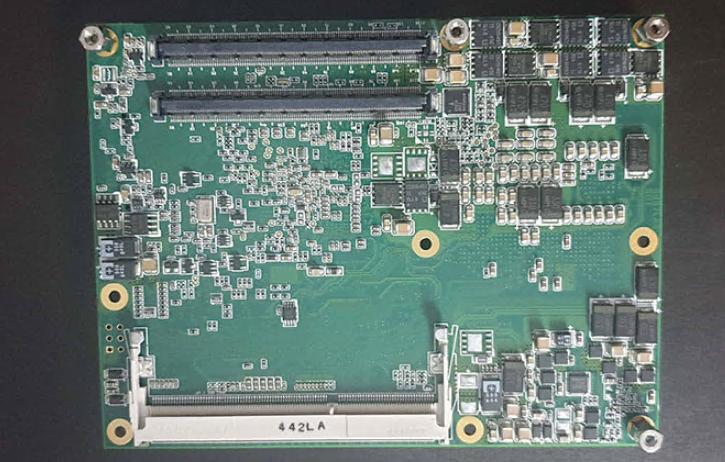
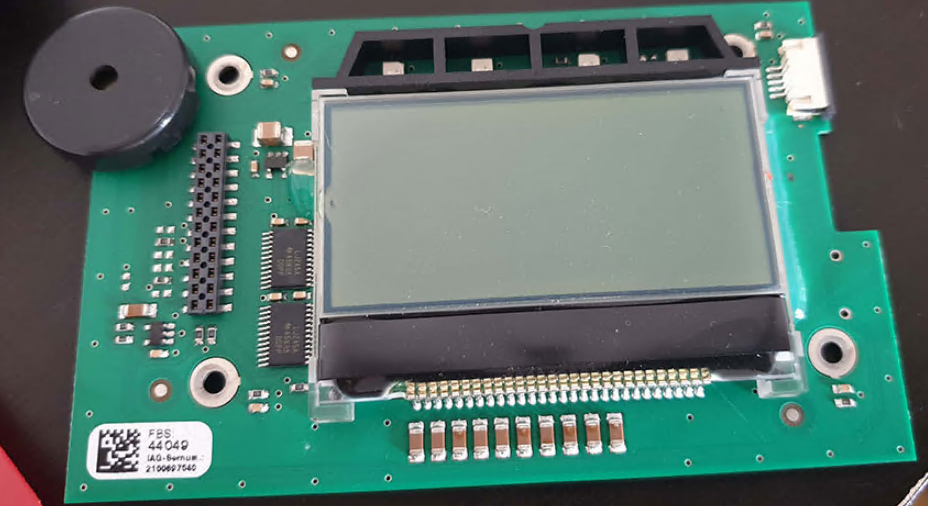
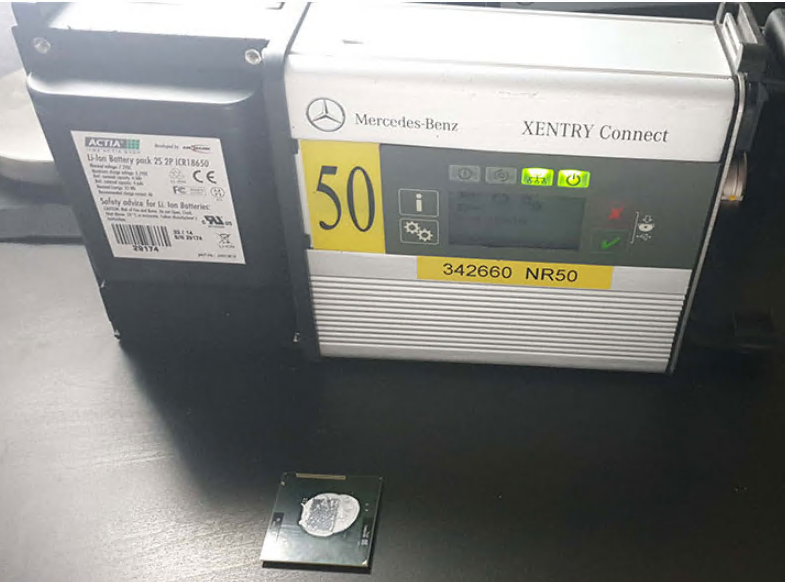
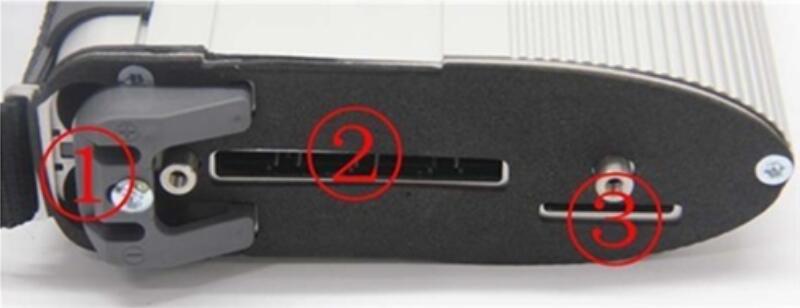
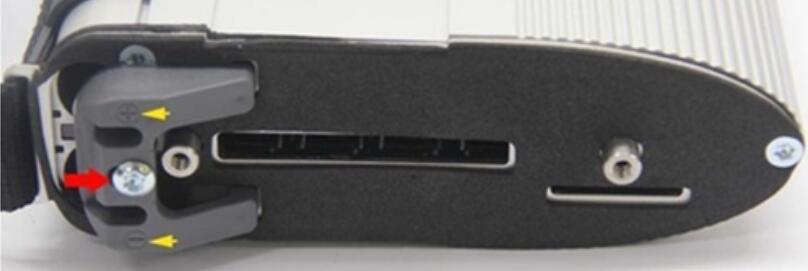
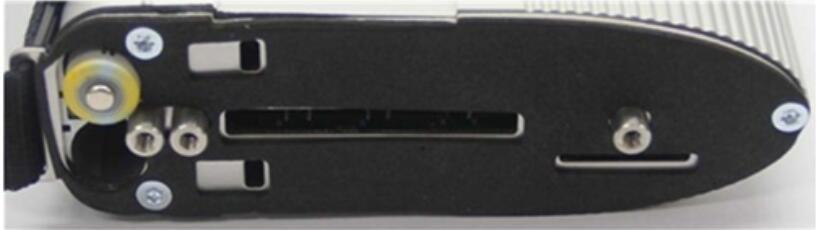
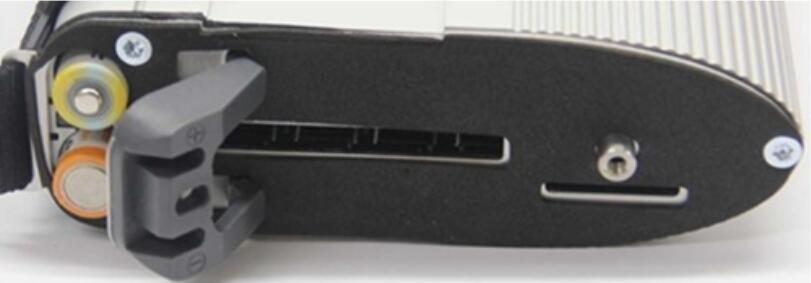
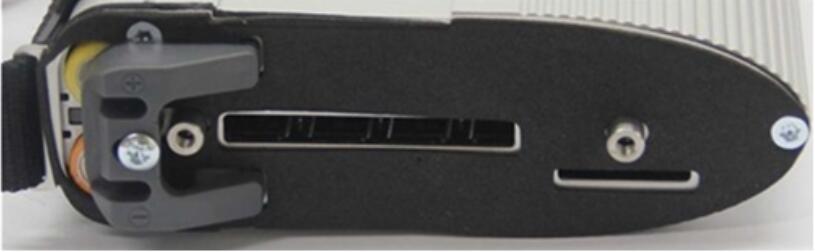
Star c6 benz diagnostic tool mainboard PCB Disaply: